Some notes on how I got VirtualBox to boot from my Windows 10 Boot Camp drive. This will let you share a Windows install between Boot Camp and VirtualBox.
Things I installed
- Windows 10 x64 using the OS X Boot Camp assistant
- VirtualBox 5.0.10 (version I installed was
VirtualBox-5.0.10-104061-OSX) - Accompanying VirtualBox extensions (
Oracle_VM_VirtualBox_Extension_Pack-5.0.10-104061.vbox-extpack). I’m not really sure if I needed this, but installed it anyway.
Disabling SIP
I had to disable System Integrity Protection on El Capitan (OS X 10.11) to get this to work.
Setting drive permissions
Firstly, run diskutil list to get a list of drives on your system. Take a note of the drive number of the drive named EFI and the other one named BOOTCAMP. (The BOOTCAMP drive might have a different name depending on what you’ve called it). In my case, the EFI drive was 1 and the BOOTCAMP drive was 4.
Now run the following to unmount your Bootcamp drive and set permissions so that VirtualBox can access the drive. You’ll need to perform this each time you reboot.
diskutil unmount /Volumes/BOOTCAMP
sudo chmod 777 /dev/disk0s1 <--- This is the drive no. of the EFI disk
sudo chmod 777 /dev/disk0s4 <--- This is the drive no. of the BOOTCAMP disk
Creating the VirtualBox image
Run the following commands to create a VirtualBox disk image wrapper for your HD. Substitute the 1,4 with the numbers of your EFI and BOOTCAMP partitions as appropriate and put your OS X username in for your_username_here.
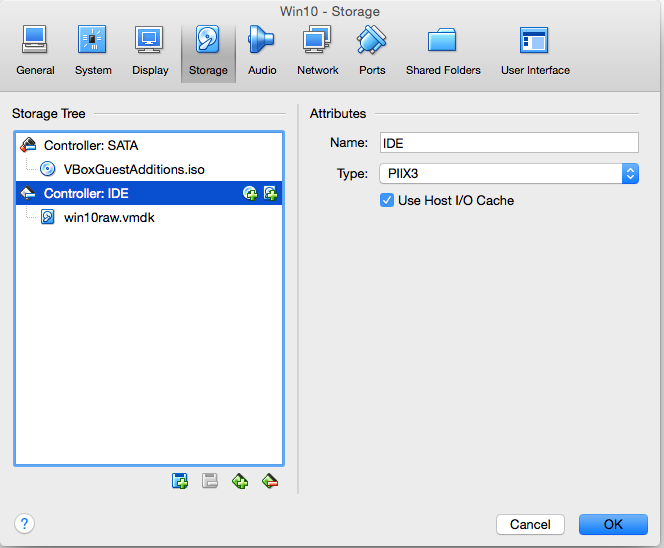
sudo VBoxManage internalcommands createrawvmdk -rawdisk /dev/disk0 -filename win10raw.vmdk -partitions 1,4
sudo chown your_username_here *.vmdk
Creating the VM
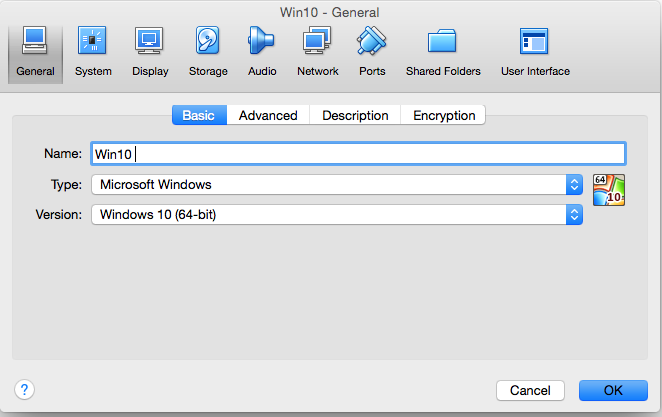
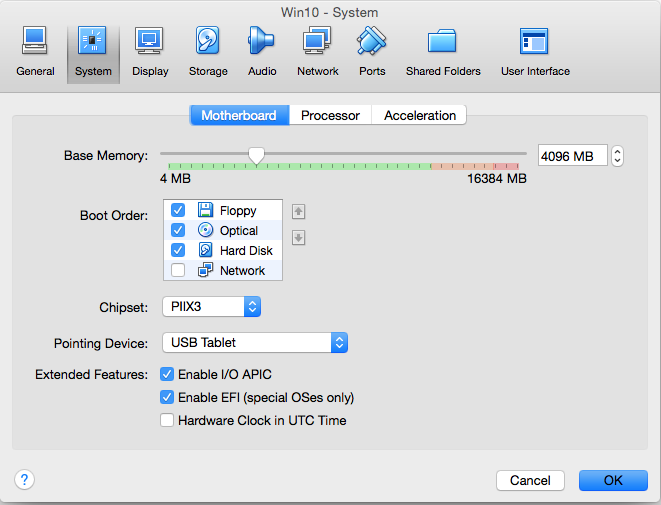
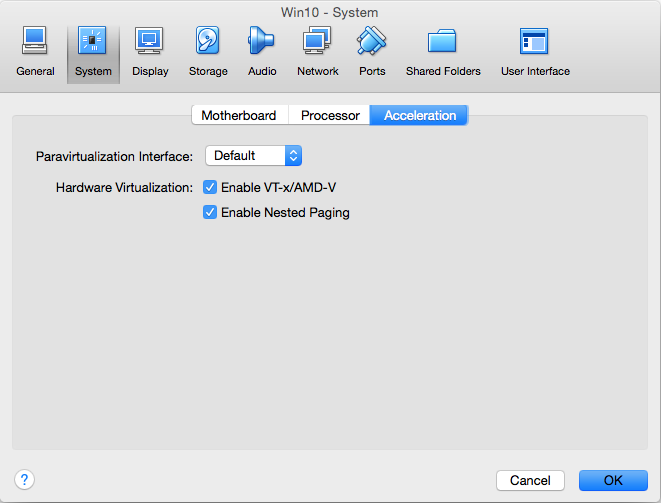
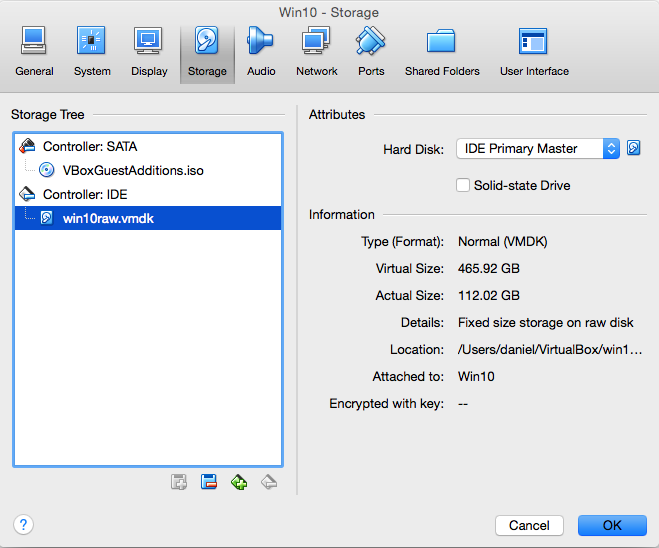
Finally, set up VirtualBox as indicated in the following screenshots, and you should now be able to run your Windows 10 install.